Monday, February 6, 2012

Galaxy Cookies

Today's recipe is brought to you by my mom's old and falling apart Betty Crocker cookbook.  I remember her making these when my brother, sister, and I were really young and I still think they're just great.  If you've got kids (or steal someone else's kids), this can be a fun recipe to make with them. 

So, get out 1/2 cup butter (softened), 3/4 cup confectioners' sugar, 1 tablespoon vanilla, food coloring, 1 1/2 cups flour, 1/8 teaspoon salt, and a bunch of cherries, chocolate pieces, nuts, of whatever you feel like putting in these cookies.  And while you're at it, preheat your oven to 350 degrees.


Mix together your butter, sugar and vanilla.  You can do this with a wooden spoon, but I personally recommend using an electric mixer (or your stand mixer for you fancy-shmancy people).  Add in a few drops of your food coloring, too, to make your dough pretty.  Or you can leave it all dull.

Booooring beige

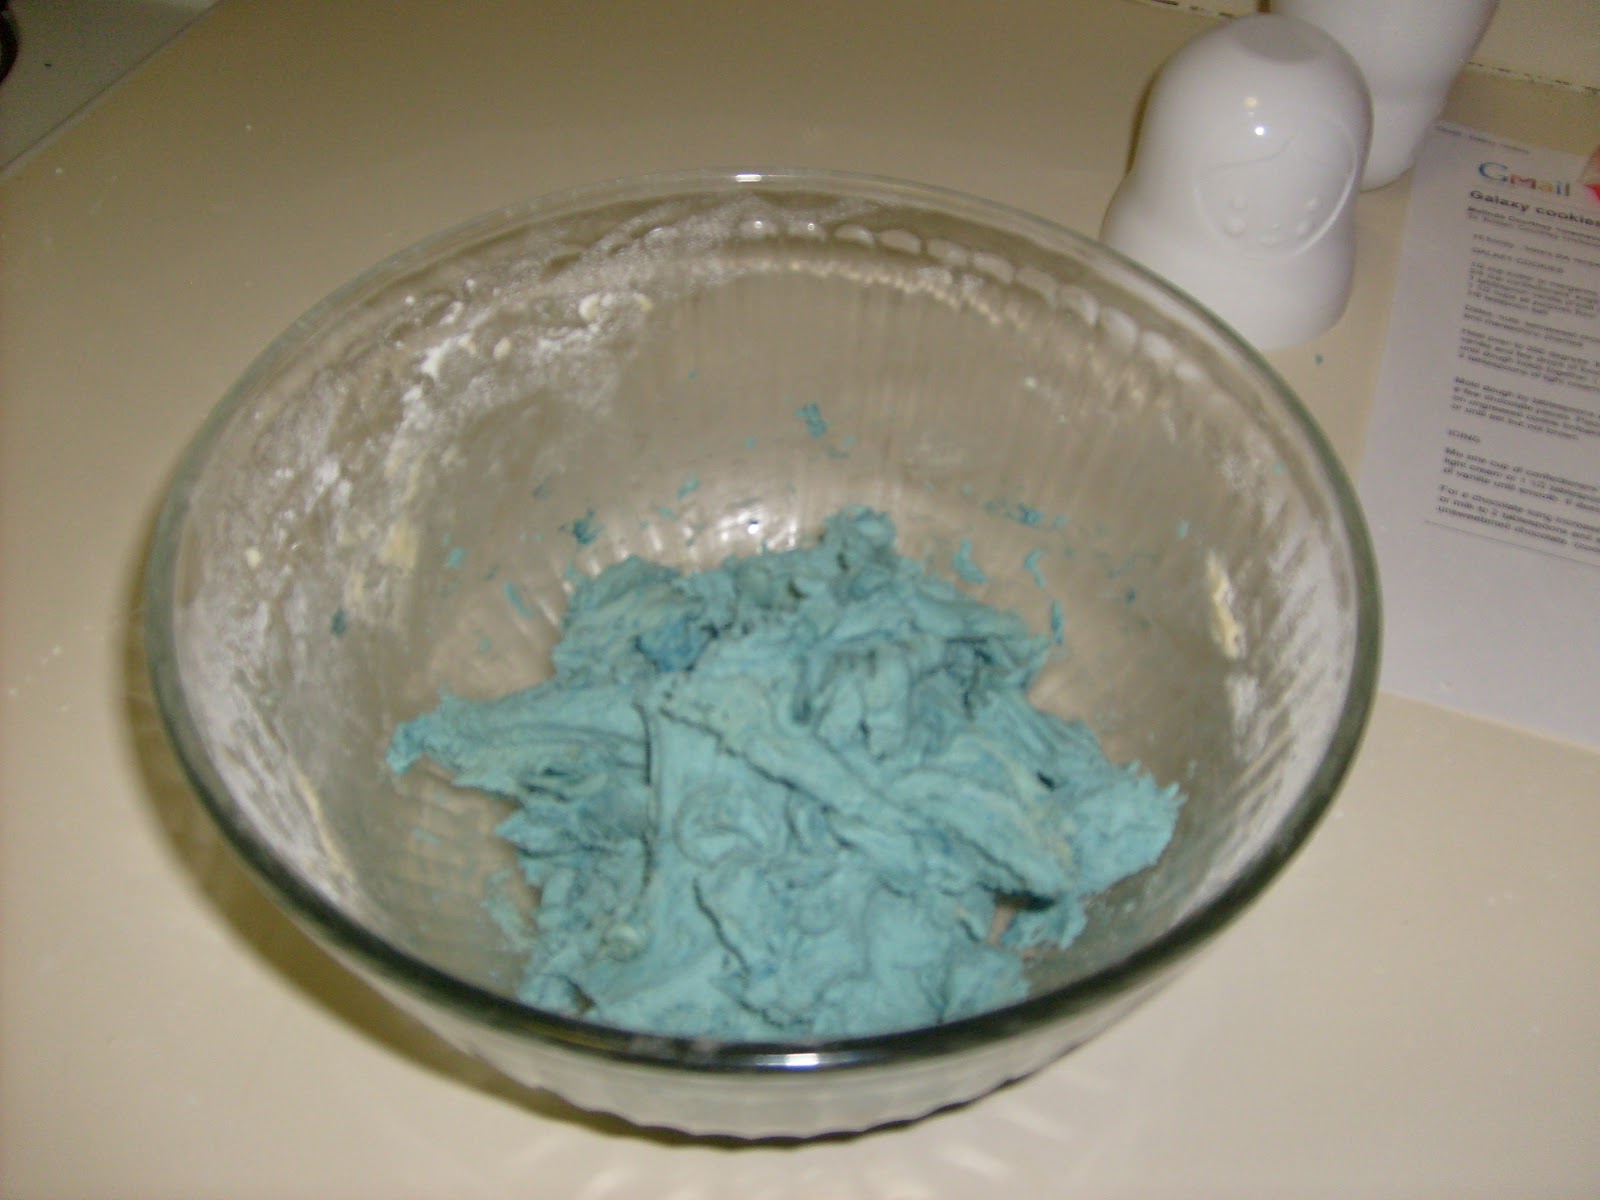
Beautiful blue!

Pretty pink!

Now gradually work in your flour and salt until your dough looks rather like the above pictures.  If the dough is too dry (and mine always is), add in some milk, a tablespoon at a time, until it comes together.  Mold the dough around whatever it is you've decided to put in the middle and roll it into balls.  You're going to have a different number of cookies depending on what you decide to put in them.  I made two batches; one with peanut butter cups inside (blue), the other with maraschino cherries (pink). 

As you can see, I ended up with quite a few more cherry-filled cookies than peanut butter cup ones.  Anyway, put your cookies about an inch or so apart on your cookie sheets and bake them for 12-15 minutes, until they are set but NOT browned.  Really, what would have been the point of making them pretty colors if you turned them brown in the oven?

Once they're cooked, cool them completely and make your icing.  You'll need 1 cup confectioners' sugar, 1 1/2 tablespoons milk, 1 teaspoon vanilla, and food coloring.

And all the sprinkles the grocery store had in stock
Just mix your ingredients until smooth.  Now just slap some icing on your cookies and you're done!  Of course, you can get really fancy here, using all kinds of different colors and piping designs on the cookies.  Or, you can be lazy like me, make one color of icing, and dump all kinds of different sprinkles on the icing before it hardens.  It's your call.  And this is probably the part of the process that those kids you came into possession of at the beginning of this post can really have fun with.  Just put your cookies on a rack over a cookie sheet and let them go nuts!

You, too, can have delicious blurry cookies!!

Sunday, January 22, 2012

Chocolate Pudding

Mmmmmm....chocolate pudding.  It's one of those tasty treats that my mom would make every once in a while and something which, for the longest time, I didn't realize most people just bought from the grocery store.  It's a great dessert for a dreary winter day, only takes a few minutes to make, and is very easy.  I once made this right after getting my wisdom teeth out completely high on oxycodone (I didn't realize just how fast it would take effect) and it still came out great AND I didn't burn the apartment down.  You'll need: 3 cups of milk, 3/4 cup sugar, 1 egg, 3 tablespoons of cornstarch, 3 tablespoons of cocoa powder, a pinch of salt, 1 teaspoon of vanilla, and 1 tablespoon of butter.


Beat the egg slightly and in a large saucepan, combine that, the milk, sugar, cornstarch, cocoa, and salt.  Heat this slowly over low to medium heat, stirring constantly, scraping the bottom of the saucepan.  And I really do mean constantly; if you don't it'll stick to the bottom of the saucepan and you'll end up with some very lumpy pudding.  It'll start out very liquid at first, but once it starts to thicken, it will do so pretty quickly.  Keep it on the heat until it becomes very bubbly; kind of like the Bog of Eternal Stench from Labyrinth, only much better smelling and, presumably, tastier.  

Once it starts bubbling away, turn off the heat and stir in your vanilla and butter.  Once the butter has melted in, pour your pudding into a large glass or metal bowl through a fine mesh strainer.  This will get rid of any errant lumps.

Begone, foul lumps!
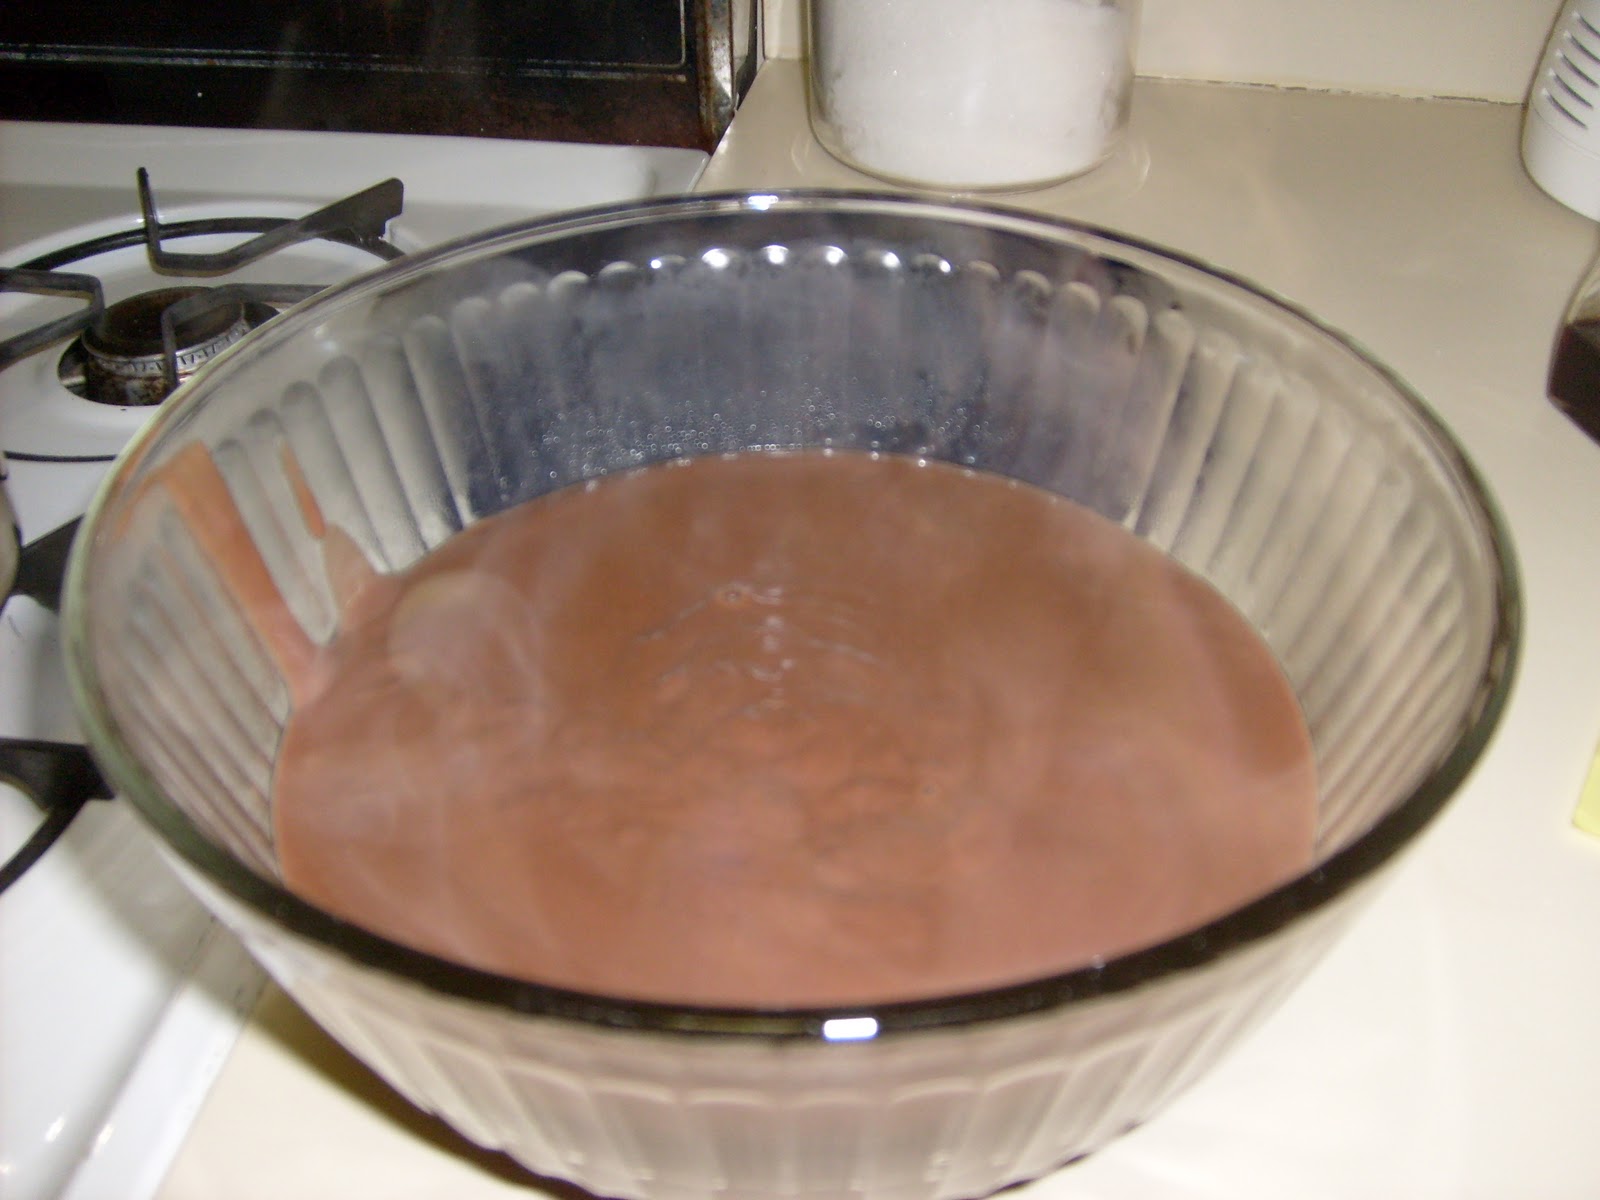
Ta-da!  You now have a large, steamy bowl of delicious chocolate pudding!  Now, you should probably put some plastic wrap on top of it; this will keep a skin from forming on your pudding.  Just put the wrap directly onto the pudding, it's fine that you're doing this while it's still hot.

That's pretty steamy
Now, chocolate pudding is fine all on its own.  But you know what makes it really great?  Topping it with homemade whipped cream!  This is another recipe that'll only take a few minutes to make.  You only need: 1/2 pint whipping cream, 3-4 tablespoons of sugar, and a dash of vanilla.

Just this
Pour the whipping cream into a large glass or metal bowl (if you can chill it and a set of beaters in the freezer first this will go faster) and beat it on high until it starts to thicken.  Add in your sugar and vanilla and continue to beat until stiff peaks form.

All done!
Bam!  You're all done!

Saturday, January 14, 2012

Caramel Corn

I've posted autumn recipes a couple times before and although fall is well passed, thanks to my parents' generosity and their freezer, I'm still getting to enjoy some fall goodness.  While I was in NY for Christmas, they gave me 1 1/2 gallons of apple cider.  And not that swill you find in the grocery stores.  Oh, no, this is some of the best damn cider you'll ever come across, from the Burrville Cider Mill (luckily they're waaaaay better at making cider than at making web sites).  One of my favorite things to go with this delicious apple cider is my mom's homemade caramel corn, which she'd typically only make for Halloween.  Since I was neither in NY nor even had any apple cider at Halloween, I figured it was a good time to make up for it.

This is a fairly simple and quick recipe; all you need is 1/2 C molasses, 1/2 C light corn syrup, 1 tsp vinegar, 1 tbsp butter, and plain, unbuttered popcorn.  My parents always buy the jar of popcorn and make it on the stove, but I'm lazy and use the microwave kind. 

Go ahead and get your popcorn all popped.  Make sure you get rid of any unpopped kernels since you probably don't want to chomp down on one of those after you get everything covered in caramel.  Now, in a large-ish saucepan, combine your molasses, corn syrup, and vinegar.  Put this on medium-high heat and let it come to a boil, stirring constantly.  Once it starts to boil, it'll bubble up pretty quickly, so keep a close eye on it.  Keep it going until it thickens up a bit, which should only take a couple minutes for a single batch.  You'll know it's ready when you can dribble a bit into a glass of cold water and form a ball with it with your finger.  Once it's ready, turn off the heat and drop in your butter, stirring until it's all melted.  Now pour it over your popcorn and stir it all around until the popcorn is completely coated.  And you're done!  See?  Quick and easy.  And very very tasty (way better than that crunchy stuff in the grocery store).  And sticky.  But no worries on that account; just let your dishes soak for a bit and they'll be extremely easy to clean.  This will keep very well for a few days at room temperature when kept in an airtight container. 
It uses plain popcorn, so it's healthy...right?


Sunday, January 1, 2012

Mushroom Puffs

I bet you were thinking all I knew how to make are desserts.  Well guess what?  I can make other things too!  Today's recipe is a tasty little hors d'oeurve that you can make for parties or for a snack when you can't think of anything else for dinner (they freeze really well, too). 

The ingredients you'll need are:
This recipe guest-stars my parents' kitchen!
1 8-oz package of cream cheese (softened), 1 1/2 C plus 2 tbs flour, 1/2 C plus 3 tbs butter (softened), 8 oz mushrooms, 1 large onion, 1/4 C sour cream, 1 tsp salt, 1/4 tsp thyme, 1 egg, beaten.  First up, we'll make the dough for the little puffs.  In a large bowl, beat together your cream cheese, 1 1/2 C flour, and 1/2 C butter until it's smooth.  Then shape it into a ball, wrap it in plastic wrap, and refrigerate it for about an hour.
I am jealous of my Mom's Kitchen Aid.
Mom has some nice pans, too.
While the dough is sitting in the fridge, you can start on the filling!  Mince your mushrooms and your onion.  If you have a food processor, you can use the shred blade to make this go much, much faster than if you have to cut them up by hand (luckily, Mom got a food processor for Christmas!).  In a 10-inch skillet, melt 3 tablespoons of butter over medium heat, then toss in the mushrooms and onion and cook them until it's tender.  Now stir in the sour cream, salt, thyme, and 2 tablespoons of flour.  Turn off the heat and set this aside.

If making the filling took you less than an hour, this might be a good opportunity for some doggie time!!!

D'awwww!  Cute lil' Ndnd! (not a typo)
Martha, Neela, and Grammie!
Well, now that puppy-time is over, the dough should be ready to work with.  Preheat your oven to 450 degrees.  On a floured surface, roll out the dough to about 1/8 inch thickness and cut out circles with a 2 3/4-inch round cookie cutter.  Brush your circles with your beaten egg and place about a teaspoon of mushroom mixture into the center of the circles.  Fold the dough over the filling, press the edges together with a fork, and prick holes into the tops.  Brush them with more egg.  Put them on a cookie sheet (which I recommend lining with parchment paper) and bake for 12-14 minutes or until they're golden brown.  This recipe supposedly makes 3 1/2 dozen little puffs, but I've never been able to make that many.  And like I said up top, these freeze really well, just do so before you bake them.  Enjoy!
Mmmmmm.....

Wednesday, December 21, 2011

Buche de Noel (Yule Log)

It is now time for one of the fanciest things I know how to make: a buche de Noel.  And I've made plenty of them.  We used to make these every year around this time in high school for French Club, so this recipe also brings back fond memories.  Well, on to it!

The first things you're going to need are 1 C flour, 1/4 C cocoa powder, 1 tsp baking powder, 1/4 tsp salt, 3 eggs, 1 C granulated sugar, 1/3 C water, and 1 tsp vanilla.  You're also going to want to grease a 15 x 10 x 1" jellyroll pan, line it with waxed paper, and lightly flour it and preheat your oven to 375 degrees.

In a medium bowl, sift together your flour, cocoa, baking powder, and salt and set it aside.  And actually sift it together, too; you want to make sure you don't have any flour or cocoa lumps in there.

Before going in the oven
In another bowl, beat the eggs until they're thick and creamy, then beat in the sugar, 1 tablespoon at a time, on high speed.  Beat in the water and vanilla.  Now fold in the flour mixture with a large rubber spatula (this is why you don't want any flour lumps).  When that's well blended, pour it into your prepared jellyroll pan and bake it for 10 minutes, or until the center springs back when touched.

Mmmmm...towel cake....
While that's in the oven, get a clean dish towel (one you don't plan on using for anything else again), lay it flat on the counter, and dust it lightly with confectioner's sugar.  When the cake is done baking, invert the pan onto the towel and carefully peel off the waxed paper.  Then gently roll the cake up in the towel like a jellyroll and set it on a wire rack to cool for a while.

While your cake is all bundled up and cooling off a bit, it's time to make some cream filling to go inside it!  For this, you'll just need three things: 1 C heavy cream, 1/2 C confectioner's sugar, and 1 tablespoon of either instant coffee (what my recipe actually calls for) or cocoa powder (what I actually use since coffee is not my thing).  I recommend using a glass or metal bowl for this and also putting said bowl and your beaters in the freezer for a little while to chill.  It just makes the whipped-cream-making go faster.  The entirety of the directions for this part of the recipe are as follows: "Beat until stiff."  Go ahead and leave your juvenile comments below.  I have a picture of what this looks like when it's done, but I don't think I'll post it.  It really will be pretty self-evident when you've beaten it enough.  Put it in the fridge when you're done while you make this next part.

We of course are going to need some frosting for this cake.  So, get out 1/4 C butter, 2 ounces of unsweetened chocolate, 2 C confectioner's sugar, 1/4 C milk, and 1/2 tsp vanilla.  Melt together your butter and chocolate.  If you do this in the microwave, I recommend microwaving for about 20 seconds at a time, then stirring around your chocolate, and microwaving for another 15-20 seconds.  It shouldn't take much more than a minute total.  Beat together your sugar, milk, and vanilla, then slowly (or dump it in all at once, like I do) beat in the chocolate.  It'll seem like it's too runny right now, but after it cools a bit it'll thicken up.

Ok, now it's time to put this thing together!  Very carefully unroll your cake.  You don't want it to break.  Spread your chocolate whipped cream on the cake, carefully roll it back up (without the towel this time, which I would hope would go without saying, but you never know), and put it on your serving plate.  Cut off about 1/2 to 1" of one end of the cake, cut out the middle coil, and reform the rest into a smaller coil and stick it on the top of the cake.  This also makes a good opportunity to taste test your masterpiece (hey, you've got to do something with that leftover bit you cut off and you need to make sure your cake is good!).  Now frost that cake!  After you get it frosted, if you want to make it look more "barklike", run a fork along it.  And you're done!  It is now ready to bring to either your library coworkers or the staff of your favorite sushi restaurant down the street from your place of work.  And yes, those are your only two options.  But it could still use a little something extra...something like... MERINGUE MUSHROOMS (see?  I told you there was a point to that recipe)!  Ah, there we go!

And it magically jumped onto a different plate!
You can also sprinkle some confectioner's sugar over this for "snow", but wait until you're ready to serve it since it'll dissolve into your frosting.  I'd also wait on the meringue mushrooms until then.  The cake needs to be refrigerated (because of the whipped cream), which you don't want to do with your mushrooms.  If they get even a little damp, you'll have a bunch of mushy mushrooms, and no one wants that.

Welp.  That's about it for this recipe.  It may seem a little long and complicated, but it's really pretty quick.  The total amount of time it took me, starting with pulling ingredients out of the pantry and ending with putting the finished cake in the fridge, was just under two hours.  So give it a shot for your next holiday party.  You might just impress someone!


Sunday, December 18, 2011

Meringue Mushrooms

With the holiday season upon us, it's time to get into some Christmas baking!  And really, does anything say "Christmas" more than meringue mushrooms?  No, no, bear with me.  This recipe will tie into something else I plan to post later this week.


 The things you'll need to make these delightful confections are 4 large egg whites (use real eggs for this, not the stuff you buy in the little cartons), 1/4 tsp cream of tartar, 3/4 C sugar, 1/4 tsp almond extract (or vanilla, peppermint, whatever flavor you want, really), and 2 ounces of semisweet chocolate.  You'll also want some unsweetened cocoa powder, but that'll come much later.


Preheat your oven to 200 degrees and line a large baking sheet with parchment paper and set that aside.  In a medium glass or metal bowl (not plastic), beat your egg whites and cream of tartar with an electric mixer at high speed until soft peaks form when you lift up the beaters.  This will take a while and your egg whites will look all foamy.  Rather like that picture over to the right.


Turn your mixer back on and gradually add in your sugar, a tablespoon or two at time, until the sugar is completely dissolved and your egg whites now stand in stiff, glossy peaks when you lift up the beaters.  Again, this will take a little while.  Use the picture to the right to give you an idea of what it should look like when done.  Beat in the almond extract. 


Nothing like white on white for a clear picture!
Get out a large pastry bag with a 1/2" plain round tip.  Spoon the meringue into the bag so it's about half full (you don't want to fill up the bag too much or else it'll squooge all over when you squeeze it).  Pipe the meringue onto your parchment-lined baking sheet into little mounds to resemble mushroom caps and stems.  I recommend making more stems than caps, since those tend to break more easily.  Bake these guys for an hour and 45 minutes.  Turn off your oven and leave them in there for another 30 minutes to dry, then remove them from the oven and let them completely cool on a wire rack.


For the rest of this recipe, you might want to relocate to your living room and start a marathon of your favorite tv show (might I recommend Cowboy Bebop?) because the rest of this will take a while (are you detecting a theme with this recipe yet?).  Anyway, with a sharp knife, make a little hollow in each of your "mushroom" caps.  Melt your chocolate into a little dish.  You can do this in the microwave; just nuke it for 15 seconds at a time, stirring it around after each round.  Now spread some chocolate on the underside of each of the caps and stick a stem into each one.  Let these set for at least an hour. 


Some of the tastiest mushrooms you'll ever see!
If you want to, you can really just stop here, but as they are they don't look quite right; they're far too pristine for mushrooms.  So now take a little bit of unsweetened cocoa powder, sprinkle it on top, and rub it in to make your mushrooms look as though they're fresh from the forest floor!  Voila!  You now have a whole bunch of really tasty "mushrooms"!  Store these in an airtight container at room temperature (do NOT store them in the fridge).  They'll last for about a month, but really, it's unlikely that they'll still be around by then.  You can serve these as-is, but like I said up there at the top of this blog, I made them to go with something else.  Tune in later this week to find out what!!!

Monday, December 12, 2011

Vacation, Part 2

I finally nabbed some of the pictures that Christina took while we were in Japan, so here they are!  Let's see if I can remember what everything is...


This first picture was taken at the restaurant Noriko took us that first evening.  It's also one of the few pictures that has me in it, thus allowing me to prove that I was there.


Next up are a couple of pictures from Hase-dera, that Buddhist temple we went to visit in Kamakura (I would also like to point out at this time that Blogger is awful for trying to do any kind of picture layout):


Next up: Yokohama's Chinatown!


Now for another picture that has me in it (taken at the Meiji shrine):


Here's a shot of the Shibuya crossing by the train station.  There are a LOT of pedestrians there.  I'll leave this one big so you can really see it, but a still photo doesn't really do it justice.


And finally, a picture of a shop in Harajuku.  And yes, they sell exactly what you think they do (unless you think they sell condos).


So that's it for the pictures I'll be posting of the trip.  I kind of wish I'd bothered to take more pictures, but I'm pretty happy with the ones that I did get.  Maybe the next time I go (here's hoping for 2013!) I'll have a better camera and I'll, you know, actually use it.