Wednesday, June 27, 2012

Immobility

It's summer.  Since I live in southeastern Virginia, that means it's about 5,000 degrees with 100% humidity all day, every day for the next few months.  As a result of this and my apartment not having any central air conditioning, I'm a little bit reluctant to spend any more time in my un-air-conditioned kitchen than is absolutely necessary.  So, less baking, more reviewing things that happen to catch my attention!

One such attention-catching thing is Brian Evenson's book, Immobility.  It's a post-apocalyptic novel set in an unspecified time in the future.  Josef Horkai is woken up from cryogenic storage to find that he's paralyzed from the waist down and has no memory of his past.  The one who revives him tells him that he's needed to go on a mission to retrieve something that was stolen and he's sent out into the wasteland with two "mules" (two identical men in hazard suits) to carry him to where the object is and back again.  During this mission, Horkai struggles to make sense of his situation and understand just who he is and who he can trust.

I really liked this book.  Post-apocalyptic stories usually strike me as interesting and I was not disappointed with this novel.  It's a quick read (253 pages) and is tightly focused.  The novel lacks a lot of world-building details, such as just how the world ended up an irradiated wasteland, among other things, but those details aren't really important to the story, which is focused on Horkai's inner struggles.  And like many books with this kind of setting, it wasn't exactly a cheerful read (though I was no where near as depressed as I was when I finished reading The Road by Cormac McCarthy).  So, if you like these kinds of stories I definitely recommend giving this book a read!

Sunday, June 10, 2012

Maple!

Do you ever find yourself in possession of too much maple syrup?
Ah, no.  That doesn't count as "too much".
You just can't possibly make any more pancakes, french toast, or waffles?
Getting closer, but still not there.
It's not like it's going to go bad, but you feel like you really ought to do something with it?
Theeeere we go.  What "too much" officially looks like.
Never fear!  I'm here to help!  Perhaps the simplest thing you can do with your overabundance of maple syrup is to turn it into maple cream.  All you need to do is boil it.  I also recommend you get yourself a candy thermometer. 

Start out by pouring a couple cups of syrup into a big pot.  Don't fill your pot more than halfway.  I really can't stress that enough.  You'll see why in a bit.
Even this was pushing it.
Turn your heat onto medium-low heat and let it do its thing.  But keep your eye on it!
Oh don't mind me; I'm just innocently bubbling away!
Eventually, it'll really get going.  This is fine, just keep your eye on it!
Bubblebubblebubblebubblebubblebubblebubble...
Turn your back for even an instant, though, and you'll regret it!
BBBBUUUUBBBBBBLLLLLEEEE!!!
If you can, try to avoid having your pot look like this last picture.  Try to get the syrup to 235 degrees and then turn off the heat.  If you end up getting the syrup too hot, it'll still be ok, and I'll go into that in a bit.

Leave your super duper hot syrup alone until the temperature cools down a bit.  It doesn't really matter just how much, just enough so that you aren't worried about burning yourself horribly when we start this next fun part: stirring the bejeebus out of it.
I'm sure this isn't going to get incredibly old incredibly fast.
See how it's about the same color as when it went into the pot, only opaque?  Well, keep on stirring and eventually it'll get lighter.
Still not done, though.
If you're like me, you'll decide pretty soon you've had enough of this "stirring by hand" crap and break out the beaters.  Go ahead!  It works like a charm!
Hurray for modern technology!
And...that's it, really.  Once it's all nice and light in color and thickened, you're done.  Just pour it into some kind of container(s), and you're finished! 

I said earlier that if you ended up boiling it to a higher temperature than 235 degrees, that it would still be ok.  That's true, except now instead of maple cream, you'll have maple candy.  The only real difference is that the maple cream is spreadable and the maple candy is definitely not.  Either way, now you've got yourself some delicious concentrated sugar!  Enjoy!

Friday, May 11, 2012

Scones

Maybe I've just been watching too many UK tv shows lately, what with going to a friend's house to watch an episode of Torchwood every week and getting caught up with new episodes of Sherlock, but I've found myself having a real hankering for scones lately.  A week ago I made some really tasty cherry almond ones using dried cherries and today I decided to try my hand at apple scones.  To make them, you'll need: 2 C flour, 1/2 tsp salt, 2 tsp baking powder, 3 tbsp sugar, 5 tbsp cold butter, 1 egg, 1/2 C heavy cream, plus some to brush on the scones before baking, two apples, another couple tbsp sugar and about a tbsp cinnamon.
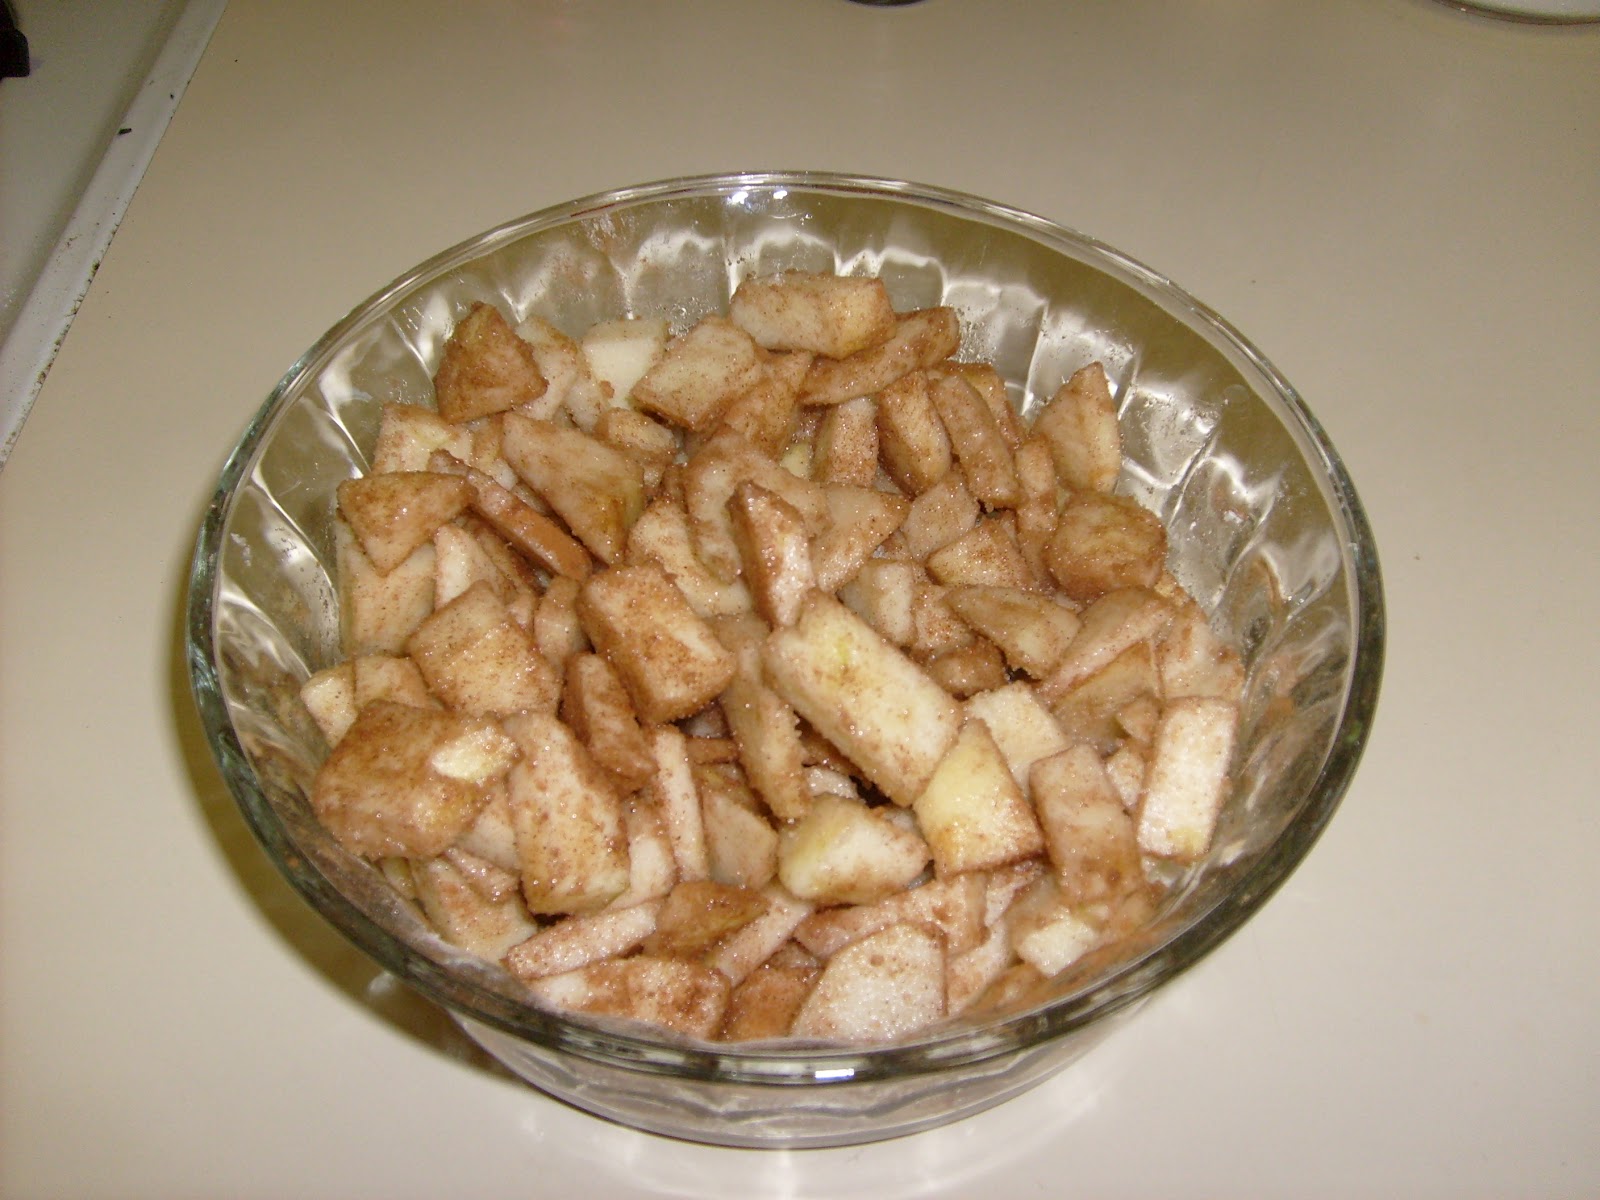
Preheat your oven to 450 degrees.  Peel and core your apples and chop them into little bits and sprinkle about 2 tablespoons of sugar and a tablespoon of cinnamon on them, stirring to coat them.  Set them aside.
Maybe eat just a few, to make sure they're good
In a large bowl, mix together the flour, salt, baking powder, and 2 tablespoons of sugar.  Using a pastry blender, or your fingers, cut in the butter.  Now stir in the egg and the 1/2 cup of cream. 
It should look kind of like this now
On a floured surface, dump out the dough and toss the apples on top. 
Huh.  Maybe I went overboard on the apples again
Now you're going to knead the apples into the dough.  Only knead it enough to get the apples all mixed in; don't overdo it--you don't want these to end up getting tough.  At this point it occurred to me there might be a very good reason my original recipe used dried fruit rather than fresh.  Fresh fruit is somewhat...moister than the dried stuff and makes for a distressingly sticky dough.  Well, nothing to do now except soldier on!  Once you're done kneading the dough, form it into a disc about 3/4 of an inch thick or so.
I'm sure this will turn out fine
 Now cut this into eight wedges.  Using a pasty brush, brush the tops of your scones with cream and then sprinkle the remaining tablespoon of sugar on top.
Definitely fine
Put the scones on a baking sheet and bake them for about 10 minutes, or until they're golden brown.  Let them cool on a rack for a couple minutes and they'll be ready for eating!
I knew they'd turn out fine
These are supposed to be eaten the same day you make them, but I, for one, don't have it in me to eat eight scones a day.  I've found, however, that if you just put them in the toaster oven for a few minutes, they'll be almost as good for the next couple of days.  This is also a pretty versatile recipe; you can put pretty much anything you want in the scones and that'll keep you from getting sick of them too quickly.  You can use all kinds of different sweet things, like other fruit or chocolate, or you could put cheese in them instead (though I'd leave out the sugar in that case, if I were you).  Just have fun experimenting!  And, because I can, here's a picture of my cherry almond scones (which were made with 1/2 C dried cherries and 1/2 C sliced almonds):


Sunday, May 6, 2012

Peanut Butter Cookies

I believe I mentioned recently how great peanut butter and chocolate are together.  Well, you're getting more of that today.  To make these cookies you'll need: 1 1/4 C flour, 3/4 tsp baking soda, 1/2 tsp baking powder, 1/4 tsp salt, 1/2 C shortening, 1/2 C peanut butter, 1/2 C sugar, 1/2 C brown sugar, and 1 egg.  Optionally, you might also want as many Hershey kisses as there are cookies, or, if you don't have any Hershey kisses and don't feel like making a special trip to the grocery store, you might instead use about a 1/2 C each of milk chocolate chips, peanut butter chips, and chopped up peanut butter cups (or whatever else happened to be in the pantry at the time).
Preheat your oven to 375.  In a medium bowl, mix together your flour, baking soda, baking powder, and salt and set it aside.  In a large bowl, cream together the shortening and peanut butter until it's smooth.  It'll look rather like a slightly paler bowl of peanut butter.
Now mix in the sugars.  When you measure brown sugar, you're supposed to lightly pack it into the measuring cup.  As we all know, though, brown sugar is the most tasty of sugars, so feel free to pack it tightly.  And then maybe add an extra spoonful for good measure.  Mix in the egg.  Finally, stir in your flour mixture.  If you're using Hershey kisses, skip on ahead to what comes after the next picture.  Otherwise, stir in chips/peanut butter cups.  I'd like to take this opportunity to mention that you ought not to eat raw cookie dough.  That said, this cookie dough is delicious.  Don't you eat it, though.
Resist the temptation!
Now roll the cookie dough into little balls and put on a cookie sheet (I recommend using parchment paper) and into the oven!
Bake the for about 10-12 minutes, or until they're a lovely golden brown.  If you're using Hershey kisses in this recipe, you'll put one on the top of each cookie right after they come out of the oven.  Now just put the cookies on a rack and let them cool for a few minutes before you eat them all!
They were all gone 10 minutes later.

Sunday, April 22, 2012

Peanut Butter Bars

Chocolate and peanut butter.  I don't think there are any two things that go together better, which is why I think Reese's peanut butter cups are the single greatest candy ever invented.  Now, I'm not posting about peanut butter cups today (though I think I might have a recipe around here somewhere), but rather something that's just about as good: no-bake peanut butter bars.  To make these, you're going to need: 2 cups peanut butter, 1 1/2 sticks of butter (softened), 2 cups confectioners' sugar, 3 cups graham cracker crumbs, and 2 cups chocolate chips.


Grease a 13x9 inch pan and set it aside.  In a large bowl, beat together 1 1/4 cups of your peanut butter and the 1 1/2 sticks of butter until it's creamy.  Then beat in one cup of the confectioners' sugar.  Using a wooden spoon, work in the other cup of sugar, the graham cracker crumbs, and 1/2 cup of the chocolate chips.  It'll be kind of crumbly, but that's fine.

Soooo tasty and distressingly rich
Now press the whole bowl-full into your greased pan, smooshing it down and getting the top as smooth as possible.  Set this aside.

In a saucepan over low heat, melt together the remaining 3/4 cup of peanut butter and 1 1/2 cups of chocolate chips.  Just keep stirring it constantly until it's smooth.  Then pour it over the top of the stuff in the pan so it's all covered and stick it in the refrigerator.

I recommend leaving it in the fridge for a few hours before you try to cut it all into bars.  If you don't chill it long enough, when you try to cut it, it all becomes a crumbly mess and the chocolate bit falls off the top and it doesn't look too great for pictures.  Not that I would know from personal experience.  In completely unrelated news, I don't have a picture of the cut up bars because...um...someone broke into my apartment and stole them, but for some reason left all my valuables alone?  Yeah, we'll go with that.

Sunday, April 1, 2012

Chocolate Minty Bars

When you've been out of work for an extended period of time, it can be important to make a good impression upon returning so that your coworkers remember just how much they missed you.  Or, if you don't feel like doing that, just bribe them with sugar so they pretend they're glad to see you again like I did.  To that end, I made some tasty chocolate minty bars.  To do the same you'll need: For the chocolate bit: 6 tablespoons of butter, 1/2 C cocoa powder, 2 C confectioners' sugar, 3 tablespoons plus 1 teaspoon milk, and 1 teaspoon vanilla.  For the minty bit: 3 oz cream cheese (softened), 2 C confectioners' sugar, 1/2 teaspoon vanilla, 1/4 teaspoon peppermint extract, green food coloring.

Line an 8 inch square pan with foil and set it aside.  Now in a saucepan, melt the butter over low heat and add the cocoa, stirring until it's smooth.  Take it off the heat and add 2 C confectioners' sugar, 3 tablespoons of milk, and 1 teaspoon vanilla.  Put it back on low heat and stir constantly until it's all melted and glossy looking.  Pour half of this into your foil-lined pan, spreading it evenly.  Put the half in the pan in the fridge and set the other half aside while you make the minty filling.

In a bowl, beat together your cream cheese, 2 C confectioners' sugar, 1/2 teaspoon vanilla, 1/4 teaspoon peppermint, and a few drops of the green food coloring.  I actually used about 4 times as much peppermint as the recipe calls for--just start with 1/4 teaspoon and go from there according to your taste.  Also, you of course don't have to use green food coloring, but it does make it look prettier.  Just don't be some weirdo and color it orange or something.  Unless you want to mess with people.  Then by all means, turn it some crazy, non-minty-looking color.  After you have this all mixed, take the pan out of the fridge, spread your mint filling over the top of the chocolate, and put it back in the fridge for another 10 minutes or so.
It's green so you know it's mint!
Once that's done, put your remaining chocolate back over low heat and add the last teaspoon of milk.  Cook this, stirring constantly, until the chocolate is all melted once again.  Now pour it over the mint filling and spread it evenly. 

And back to the fridge with it!  This time leave it there for at least a couple hours, until it's completely chilled and nice and solid.  Then take it out, flip the pan over onto a cutting board, remove the foil, and cut into small squares.  And that's it!  You now have a delicious, and nutritious*, treat!  That ought to keep people off your back your first day returning to work.

*Note: Chocolate minty bars are in no way nutritious.

Monday, March 19, 2012

Macaroni and Cheese

It occurred to me that it's been far too long since I posted anything.  While I could say that it's because I've been recovering from recent unpleasantness (which is true), I've actually just been far too busy playing Mass Effect 3.  But, since I beat that the other day (damn you, Bioware!  you'd better have some good DLC planned to fix what you did!), I figured it was time for a new recipe.

One of the things that my loving mother made for me while I was convalescing was her homemade macaroni and cheese.  You know that slogan for Kraft Macaroni & Cheese, "it's the cheesiest"?  Yeah, no.  This is.

You'll need: 2 C uncooked elbow macaroni, 1/4 C flour, 1/4 C butter, 1 tsp salt, 2 1/2 C shredded cheese (whatever kind you want; Mom used 1 1/4 C sharp cheddar and 1 1/4 C colby jack), and 2 C milk.


Preheat your oven to 350 degrees.  Boil your macaroni in a big pot.  While that's going, in a large pan over low heat, melt the butter and combine it with the flour and salt to make a rue.

This is what a rue looks like.
Now add the milk and heat it up until the sauce thickens, stirring constantly.  Now add your cheese and keeping cooking and stirring until it's completely melted.  (By the way, this is also a really good cheese sauce for something like broccoli or cauliflower.)

CHEESE!!!

All melty!
By now your macaroni is probably cooked nicely.  Drain it and put it in a large oven-safe bowl or casserole dish and pour your cheese sauce over the macaroni.  Stir it all up to get everything nice and coated.  Now, you could be all traditional and put bread crumbs or something on top.  OR, you could ADD MORE CHEESE!

Told you it was the cheesiest.
Put it in the oven and bake for about 25 minutes.  And there you have it; super cheesy, and super delicious, macaroni and cheese!  And if this seems like an awful lot of macaroni and cheese to try and eat up, don't worry; it freezes really well.

Thanks Mom!